Powershell can be used for pretty much anything, we’ll take a closer look at what it can be used for in more detail, today we are going to look at interrogating user data in active directory.
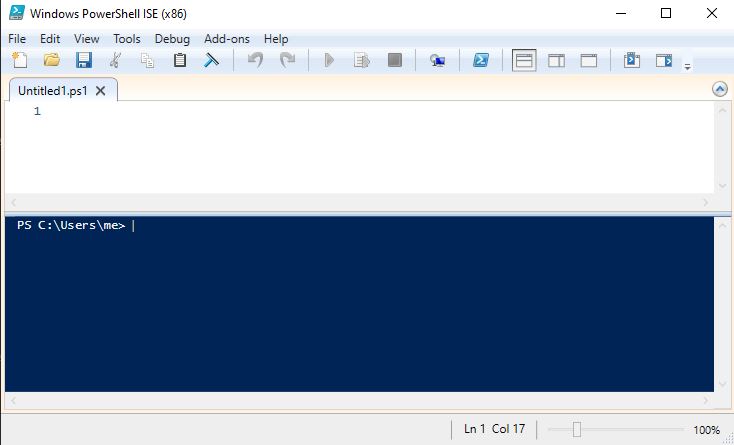
So the first thing to do is load up Powershell ISE, I use ISE as it gives you an area to write scripts, test, debug, edit etc. Once you have opened it up, it will look like this:

The Command To Return All
Lets run our first command which will pull back all the properties of a user account in AD. This can be very useful as you’ll see more than what you see in the GUI of AD. Copy and paste the below code and run it in your Powershell session, you will need to change the identity to a name of an account in your AD environment.
GET-ADUSER -Identity "Enter Account Name" -properties *This command is saying “get user” with the “name/identity” you specified, look up the properties and return all. The asterisk is a wildcard and in this example will display everything. Below is an example screenshot of some of the data you’ll see

If you know what your looking for you can make the command a bit more specific, in the example below we are asking it to return the UserPrincipalName, the user principal name is unique to every account in active directory.
Return Specific Data
GET-ADUSER -Identity "Enter Account Name" -properties * | SELECT UserPrincipalNameAs you can see all we have added is a pipe and a select option. The pipe holds all the data that we have just looked up and the SELECT is asking to return the specified data.
I hope you found this useful!


